Happy Pi Day!!
Every year, I make a circle themed quilt for Pi Day. I've been doing it since 2017, so it's definitely a tradition!
This post contains affiliate links. As an Amazon Associate I earn from qualifying purchases.
If you're new here, hello! I'm Laura! I design quilt patterns, and I'm a self-proclaimed deal hunter! Be sure to join the popular Quilting & Sewing Deals Facebook group where I post sales, deals, and coupon codes from all around the web!
You can take a look back at all the previous ones below.
2021 - Mini circles
2022 - A modern bubbles quilt
2023 - Abacus inspired mini circles
This year, I was inspired by this image. I was determined to recreate it in fabric!
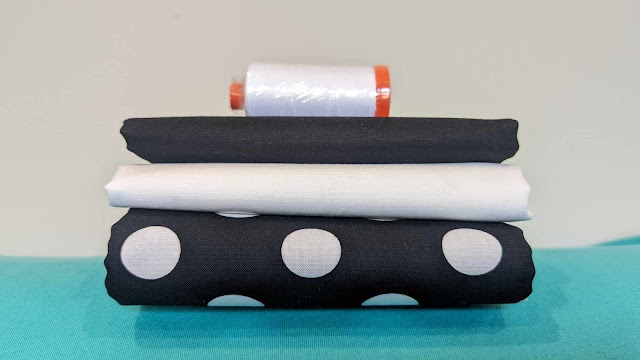
I ordered yardage of Michael Miller Cotton Couture solids in Black and White from Missouri Star Quilt Co., along with a jumbo dot print for the backing fabric.
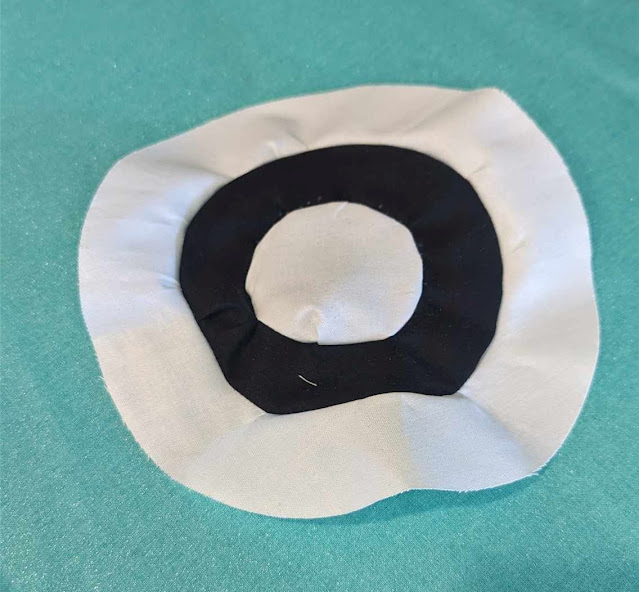
I enlarged the inspiration image until the black strips were one inch wide. In an ideal world, I would piece curved strips together to make apple core blocks, then sew those together.
I attempted to piece the center portion of one block. Although I deemed it *possible,* I decided I didn't have the patience or determination to succeed at it. And I knew there would be an easier and faster way - raw edge applique.
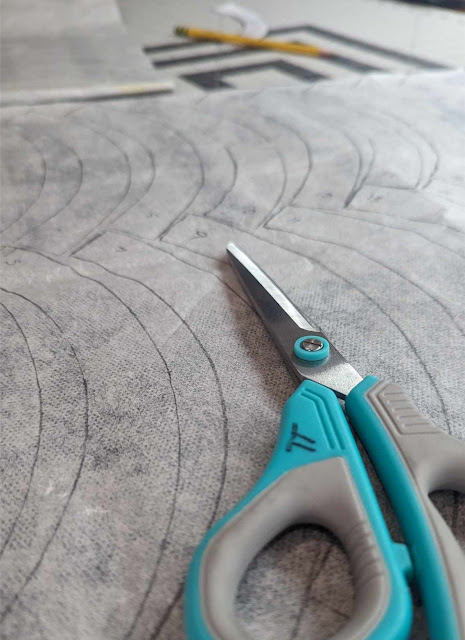
So I moved on to plan B. I pressed Lite Steam-A-Seam 2 to the back of the solid black fabric, then traced the one inch wide arcs onto the fusible and cut them out with scissors.
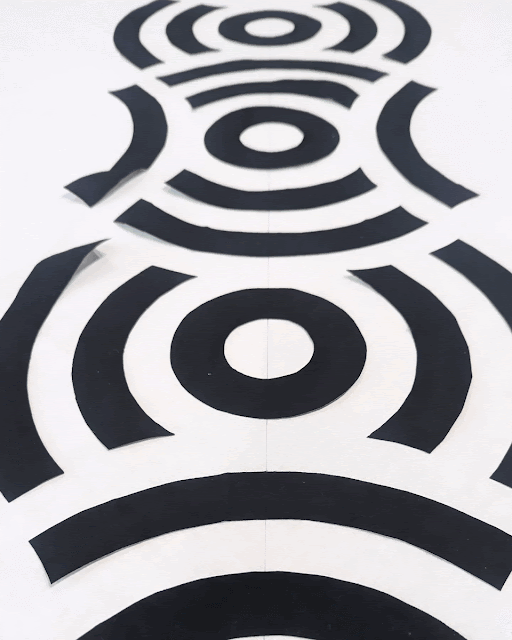
I laid the uncut yardage of the solid white fabric onto my table, then I just peeled the paper off the back of each arc and started placing them onto the white fabric.
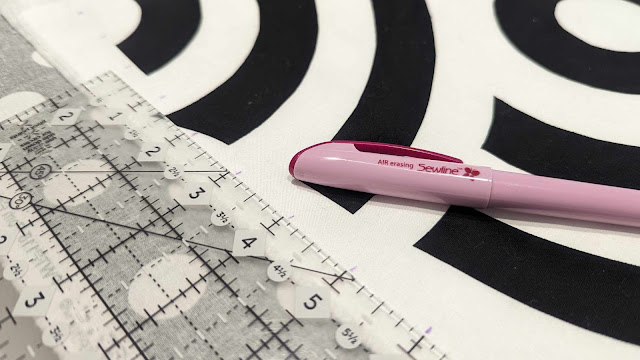
I only drew one line to help me with the initial placement and spacing. I drew a 45 degree diagonal line from one corner of the white fabric to the other side. I used an air erasable pen so the marks would disappear quickly.
I could immediately see that the design was going to work!
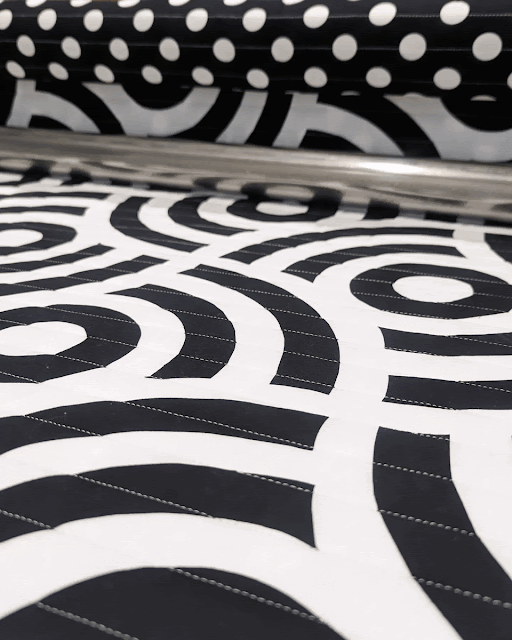
I decided that this quilt was unlikely to be washed, so opted not to sew around each applique piece. I just pressed them down then quilted over the top of them. The quilting would hold them on so they wouldn't fall off even if the fusible didn't hold.
Once I was satisfied with the placement of all the pieces, I loaded the polka dot fabric onto my longarm with bleached 80/20 batting.
Then I used the air erasable pen again to mark one inch measurements along the left side of the quilt top in preparation of straight line quilting.
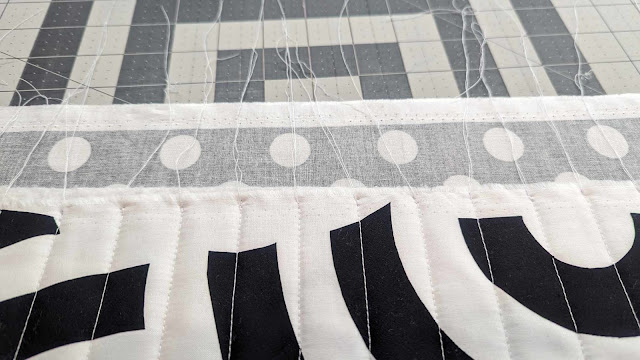
I lined up my needle with each mark, then used the channel locks on my longarm to make a straight line across the quilt.
Once done, I had quite the collection of thread tails along the edge!
I debated a lot about what color to use for the binding.
Black? Turquoise? Hot pink? I mentally chose hot pink, but then realized I didn't have a "hot" enough pink in my stash.
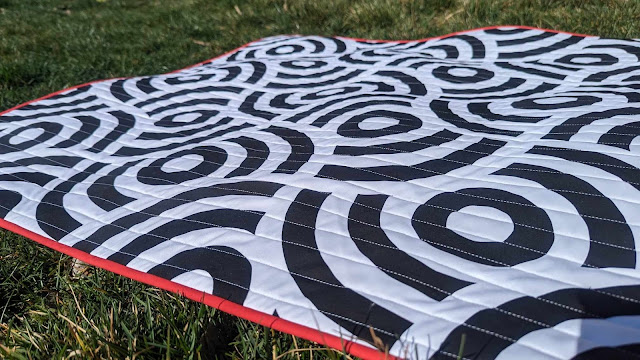
So I went with Kona Crush - the 2023 Kona color of the year. It's red, but with a slight pink tint to it too.
I cut 2 1/4" strips for the binding and machine sewed it on (tutorial here). And yes, I used one of my satin labels too!
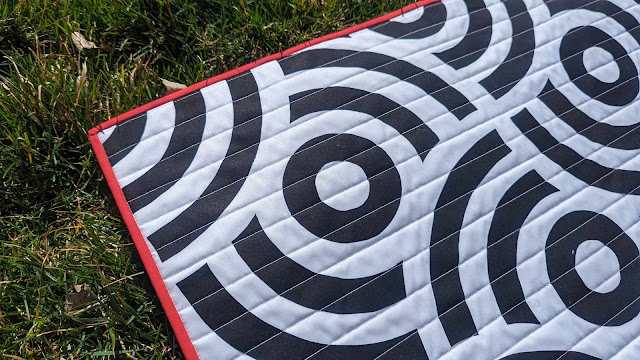
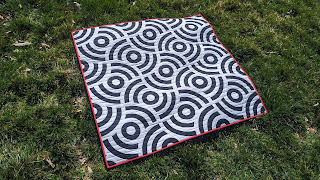
I am THRILLED with how the quilt turned out!!
I love the graphic nature of the design, the pop of red for the binding, the straight line quilting... SO many heart eyes!
The finished quilt is about 36" square, making it my largest Pi Day quilt yet!
Do you celebrate Pi Day??
We love doing fun things with the boys for Pi Day! We usually make cardboard box airplanes so they can be pi-lots, and we pretend to be pi-rates during bath time. And of course we have pie!! And this year, I'll hang up my new quilt to celebrate too!
__________
If you liked this post, you may also like these:









Absolutely gorgeous! I was waiting for you to tell us that you did piece everything together....I'm glad you found an easier way....makes me more tempted to try something like this.
ReplyDeleteWill there be a pattern?
ReplyDeleteBeautiful! Very inspiring.
ReplyDeleteVisual awesomeness!!
ReplyDeletePerfect interpretation, Laura!!! Clever technique! Happy Pi Day!!!
ReplyDeleteFabulous! I also enjoyed all the pi projects from previous years. Thanks for sharing those.
ReplyDeleteAs a retired math teacher, I miss the excitement of Pi Day! I love your quilt and hope to see a pattern soon!
ReplyDeleteWow! From a photo to a quilt - I'm in awe of your talent!
ReplyDeletePattern??? Gorgeous!!!
ReplyDeleteI love this. Black and white are so graphic and those circles just seem to flow on forever.
ReplyDeleteLove this quilt! the black and white really set off the circles!
ReplyDeleteWow! Love the red binding. Thank you for explaining the process you used to create this marvelous quilt.
ReplyDeleteI always love Pi Day on your blog. This is a fun quilt, and fusing was a great way to go.
ReplyDeleteThis is a beautiful design. Please tell us you will be making a pattern we can all purchase. Thank you for sharing.
ReplyDeleteSo clever! You are so good at taking a complicated design and, with a bit of work (and maybe some blood, sweat, and tears) making it doable! Outstanding Pi Day quilt
ReplyDeleteLove this quilt! Please make a pattern for it!
ReplyDeleteWonderful Pi-day quilt!
ReplyDeleteAll these Pi Day quilts, and not one birthday! My birthday and my twin’s are on 3.14. So is Albert Einstein’s, which I think is perfect. Before I retired, we always had Pi Day parties to celebrate my birthday and the math department, which was the other half of the building. We’d order pizzas and wear silly hats and necklaces made but the math club. We’d have races and sing songs. So much fun!
ReplyDeleteI love the movement that this pattern creates! Simple black, white and red really makes it so gorgeous! Happy Pi day indeed!
ReplyDelete