Pi Day only comes once a year, and of course we celebrate big! We always have pie (this year we had apple and chocolate chip cookie pie!), and I always make a quilt! This is my fifth year of Slice of Pi Quilts, and this was my fifth time making a Pi Day quilt!
When hunting for other pi and circle themed quilts, I came across this amazing one by Three Owls Handmade, and I knew that was just the jump start I needed.
This post contains affiliate links. As an Amazon Associate I earn from qualifying purchases.
If you're new here, hello! I'm Laura! I design quilt patterns, and I'm a self-proclaimed deal hunter! Be sure to join the popular Quilting & Sewing Deals Facebook group where I post sales, deals, and coupon codes from all around the web!
I raided my stash of charm packs, and found a great geometric collection called Uppercase Volume II by Janine Vangool of Uppercase Magazine by Windham Fabrics that I got a few years ago. I also grabbed a coordinating spool of Aurifil 50wt thread, and my circles AccuQuilt GO! die. (When it came time to quilt it, I actually decided to use 50wt Aurifil #2024 White to match the background fabric instead.)
I decided to use 1" circles because eight of that size fit perfectly on the precut 5" square. I cut the whole pack (32 fabrics) in half so that they would fit better on just that section of the die.
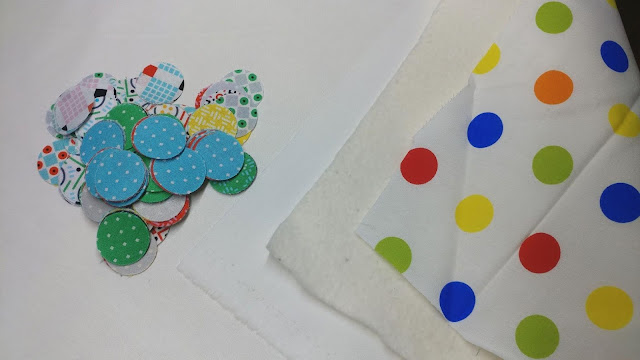
Then I cut six layers at once to get 48 circles with each pass! It took just a couple minutes to get 256 perfect circles! I should mention that I did consider using fusible web like Lite Steam-A-Seam 2 in order to press the circles into place, but decided I didn't want to spend the time ironing and that the raw edges would work fine in this not-likely-to-be-washed mini quilt.
Next up was making the quilt sandwich. I used a scrap of polka dot backing fabric that I bought from Connecting Threads a few years ago. (I also used that fabric as the backing on this quilt and this pillow!) I used a scrap of Warm & Natural batting and a piece of Paintbrush Studio's Painter's Palette solid white for the top. Each piece was roughly 20" x 20", and I decided not to baste it since it was small enough I could maneuver it easily in my machine without having to roll or fold it.
I first used my ruler and favorite disappearing ink pen to draw a horizontal and vertical line in the center of the quilt.
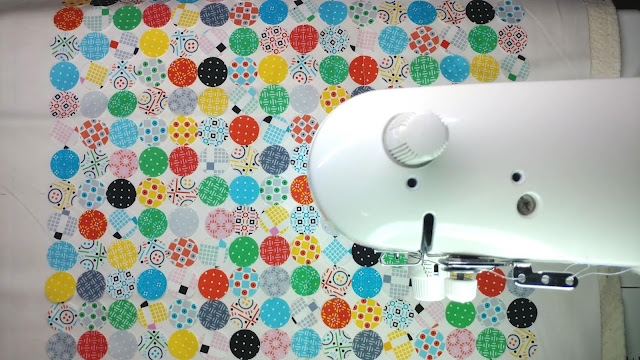
Then I just started randomly placing all the fabric circles using those lines as a guide! I put one dot of glue to hold each one in place, and made it 16 circles by 16 circles. (Others have told me this glue stick is great, but I resisted. I'm a believer now! I really do like the smaller 1/4" glue stick better than a regular school glue stick!)
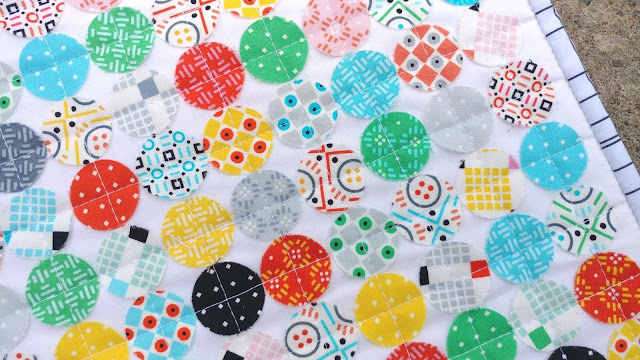
Once all the circles were arranged, I put on my walking foot and started quilting straight lines through the center of the circles. I started at the top edge, but in the center of the quilt and worked my way to the right edge, then turned the quilt around 180 degrees and quilted the other half. The edges would sometimes turn up, so I found it best to use a stiletto (or my seam ripper) to hold down the edges as it approached the toe of the walking foot.
Then I turned the mini quilt around 90 degrees and stitched the straight lines in the opposite direction to make a cross-hatch design.
I trimmed the quilt 1/2" away from the circles on all four sides, which made a 17" x 17" square quilt.
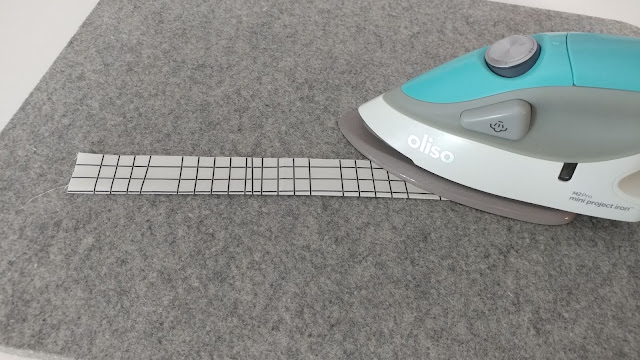
Next up was binding, and I used a leftover fat quarter from the Road Trip collection by Quiltachusetts from Paintbrush Studios. (I used many of the prints from that collection in this suitcases quilt.) I cut four 2 1/4" wide strips, sewed them end to end, then pressed them in half with my wool pressing mat and Oliso mini iron.
Next I machine sewed it on following this tutorial. It took me only six minutes to sew the binding on the whole thing! Both sides!
I even remembered to sew in one of my satin labels while stitching the binding on!
I'm so thrilled with how the quilt turned out!
It's such a fun quilt to add to my pi-themed quilt collection! (Check out the other four here, here, here, and here!)
It took me less than three hours to make the quilt from start to finish (including taking the photos for this blog post!). The method really reminds me of my super fast baby quilts that I can make in just a couple hours too! (See the most recent ones of those here.)
How did you celebrate Pi Day? Did you make a circle quilt? Did you have pie?
My six-year-old helped hold this one for a photo. The sky really was that white! I didn't edit the background out of the photo at all!
Let me know if you have any other ideas for circle quilts! I really love them and am already looking forward to next Pi Day!
__________
If you liked this post, you may also like these:
Happy Pi Day!! 2024
Happy Pi Day! 2023
Happy Pi Day! 2018


Laura, what a cool idea! Ok, this is on my to-do list! Great little blankie for my new grandniece!
ReplyDeleteHooray for PiDay and your annual Pi quilt. I love that glue stick pen and was missing mine moments go. It is so much easier with a finer amount of glue. Love this quilt and hooray for the finish!
ReplyDeleteIt turned out great. Happy belated Pi Day.
ReplyDelete