Sometimes, I get wild and crazy ideas. This is one of those times!
This post contains affiliate links. As an Amazon Associate I earn from qualifying purchases.
If you're new here, hello! I'm Laura! I design quilt patterns, and I'm a self-proclaimed deal hunter! Be sure to join the popular Quilting & Sewing Deals Facebook group where I post sales, deals, and coupon codes from all around the web!
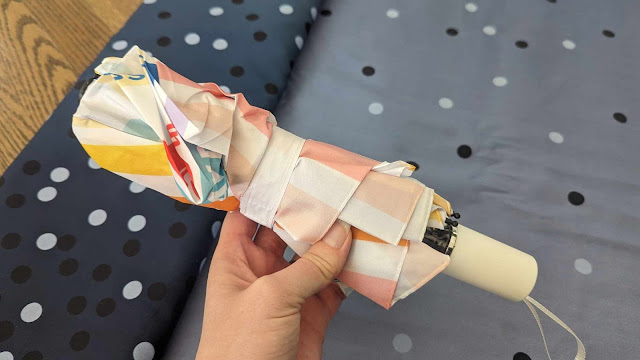
Missouri Star had sent me an umbrella from their 15th birthday celebration.
I decided it would be a fun challenge to see if I could recover it!
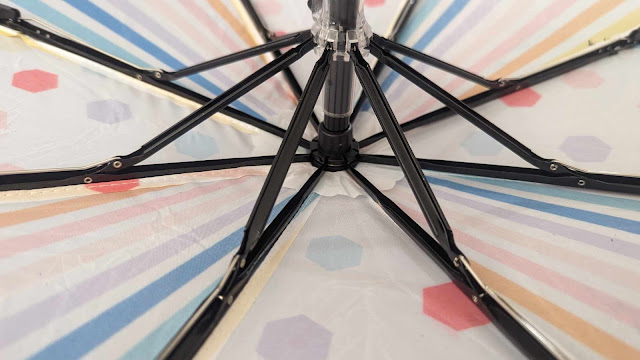
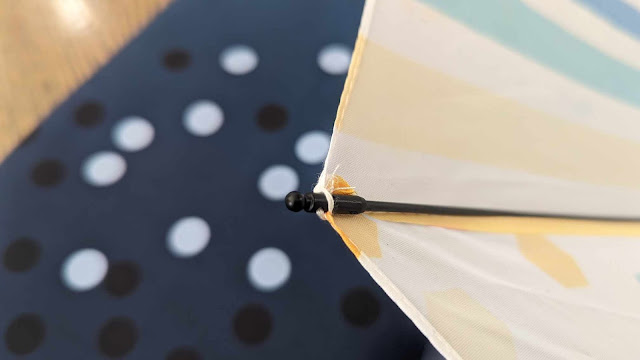
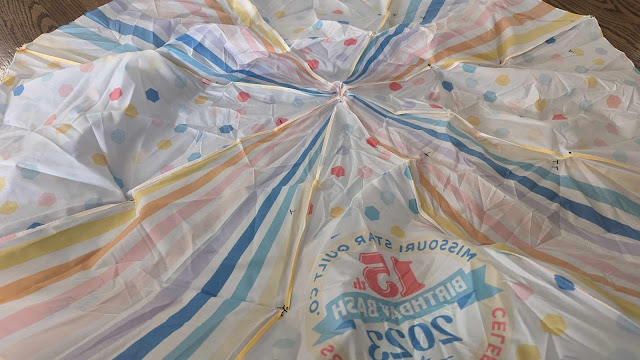
Before doing any deconstructing, I took lots of before photos. I really had no idea if this was going to work, so I wanted to document as much as I could. I took close-up photos of all the spots where there was hand sewing going to be needed.
And I used a Sharpie to mark on the original fabric of the umbrella those same spots.
Then I started seam ripping! I took all the fabric off the umbrella frame, then seam ripped one of the wedges to use as a pattern for cutting the new fabric.
I cut the wedges about 1/4" larger than the original one to give myself a bit of wiggle room when sewing the seams. Their seams were about 1/8", and I wanted mine to be close to a 1/4".
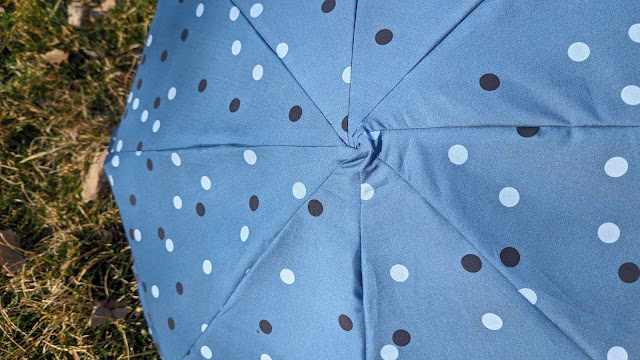
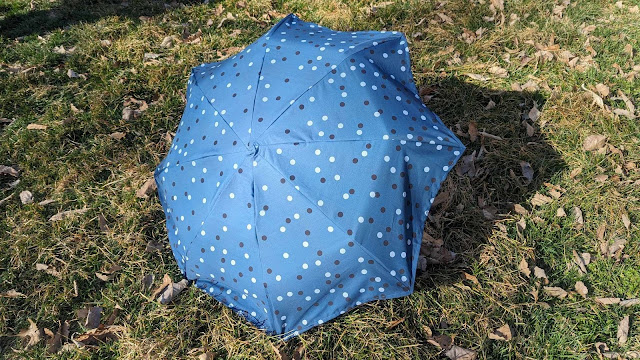
I used a navy ombre dot fabric by Moda that I got at Missouri Star. It was actually 108" wide, but regular width fabric would work too. Because the fabric was ombre, I had to cut all the triangle wedges the same direction. This meant that I used about 3 1/2 yards of fabric. If the fabric wasn't directional, then it definitely could have been cut from less.
After cutting the wedges, I just dove in to the sewing. I started by hemming the bottom edge of each wedge. I just folded the fabric over twice and top stitched it down with matching Aurifil 50wt thread.
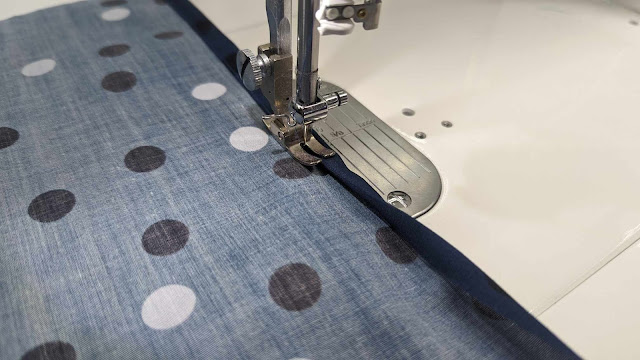
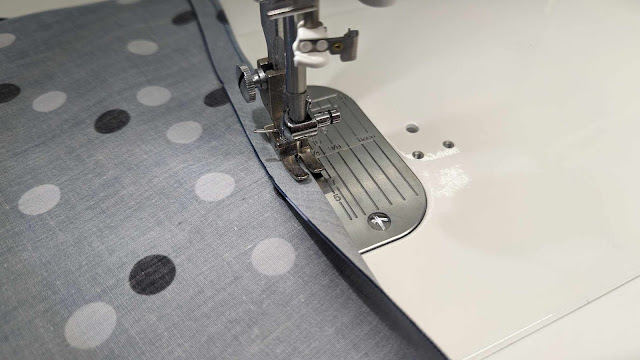
Then I began to sew the eight wedges together. I sewed the seams just like the original umbrella, which was a bit non-traditional. The fabrics are laid right sides together, but then the fabric is folded over and top stitched. I'm guessing this helps to reduce water leaking through the seams during use.
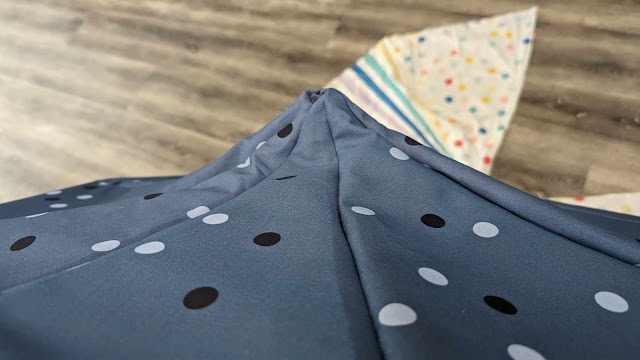
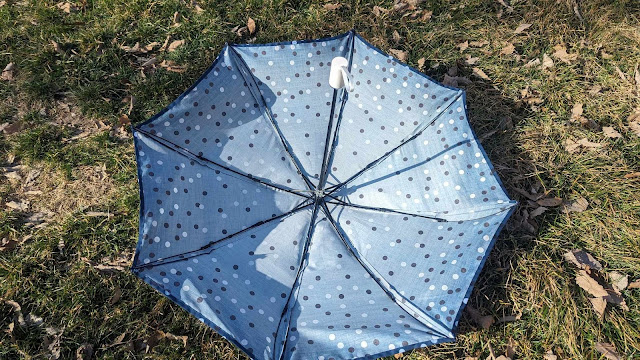
And then this is when I ran into a snafu. After sewing the wedges together, I attempted to fit it back on the umbrella frame. The center was not taut like it should be. So I seam ripped the top 6" or so of each wedge and re-sewed them with a slightly larger seam allowance. This did fix the problem, and the fabric fit much better on a second try!
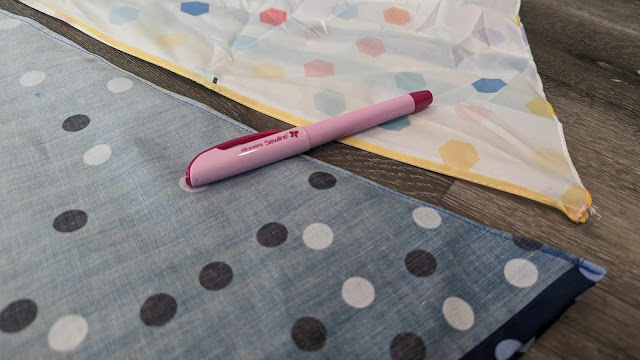
The next step was to transfer all of the markings for where to hand sew from the original fabric to the new fabric. I used an air erasable pen for this, as the markings last for just about an hour.
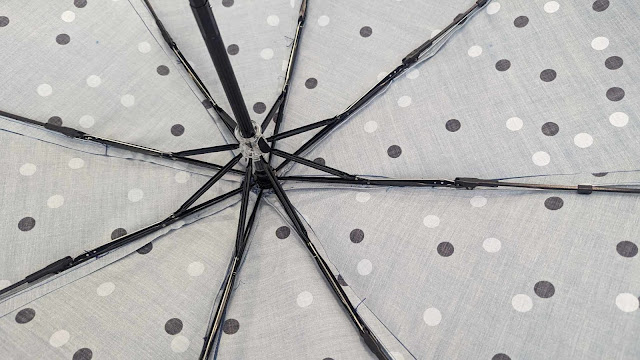
Then I used Aurifil 12wt thread to hand sew the fabric to the umbrella frame. It was tacked down in three spots on each umbrella arm. The fabric seemed really taut, but the thread held!
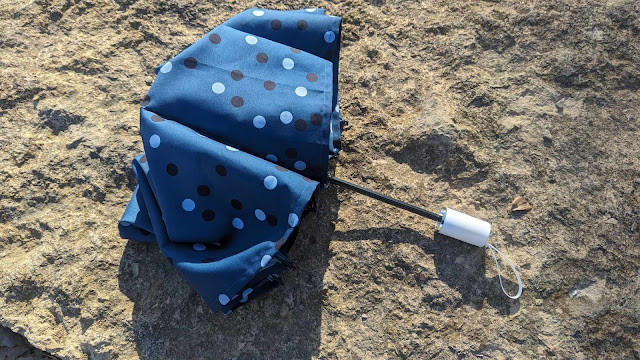
I was absolutely thrilled that it worked!!
Next, I'm going to purchase some Odif Odicoat to "paint" onto the fabric to make it waterproof!
I do have some of the navy ombre fabric left, and I'm really considering making a matching skirt!
This was a fun challenge to stretch my brain, and it only took one afternoon to make!
Have you ever recovered an umbrella in new fabric?? Is this something you might like to try?
I love to make projects that make me smile, and this definitely fits that bill! It's supposed to rain next week, and I can't wait to try it out!
__________
If you liked this post, you may also like these:








That's a neat idea, I'm glad it turned out well. Happy walking in the rain!
ReplyDeleteYou are a daredevil stitcher, Laura!!! You could use it without the Odif, as a sun umbrella. The next question is, what are you going to do with the Missouri Star umbrella fabric?
ReplyDeleteWOW Great idea!!!!! Maybe I could laser print some photos on it as well!
ReplyDelete