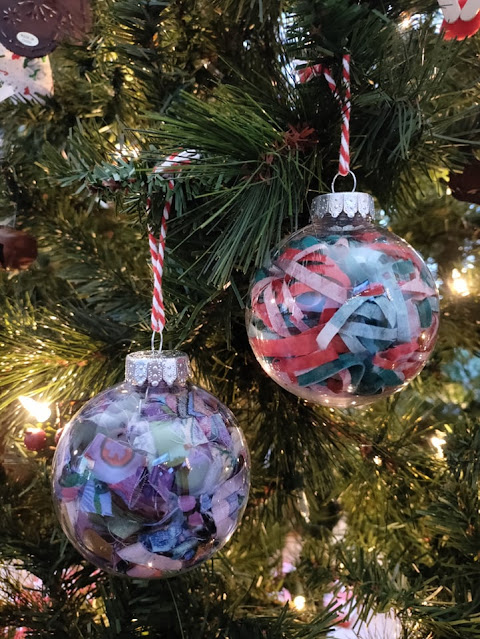
Today's ornament tutorial might be the quickest and easiest ornament you'll ever make!
Every day for the 12 days leading up to Christmas, I'm sharing a tutorial for how to make a fabric ornament!
This post contains affiliate links. If you make a purchase after clicking the links, I may receive a small commission at no extra cost to you. As an Amazon Associate I earn from qualifying purchases.
If you're new here, hello! I'm Laura! I design quilt patterns , and I'm a self-proclaimed deal hunter! Be sure to join the popular Quilting & Sewing Deals Facebook group where I post sales, deals, and coupon codes from all around the web!
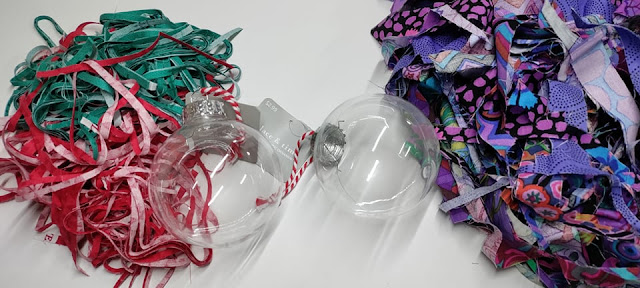
For this one, you only need fabric scraps (and I mean SCRAPS!) and clear ornament balls.
I got my clear plastic ornament balls at JoAnn , but you can find them at most stores around Christmas time including Amazon .
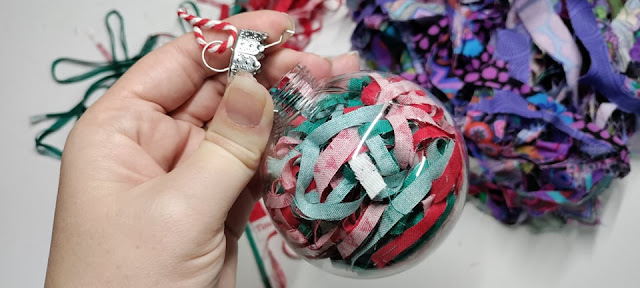
The first step is to just pull off the top of the ornament. It's just held in by two wires, so a gentle tug is all that's needed.
Then stuff it full of your fabric scraps! You could use red and green fabrics cut into tiny 1/8" strips, or you could use scraps from your latest quilt finish to have a keepsake ornament to match! You can include any size of scrap, but I find the tiniest ones work best !
You could even include thread or those little dog ears you trim off of blocks.
Once filled up, just put the top of the ornament back on! I used my fingers to squeeze the metal wires to get them to fit.
That's it! It's seriously that easy!
I made these two - and took all the photos - in less than 5 minutes!
Check out all of the 12 Days of Ornaments tutorials here!
Day 3 - Scrap filled Christmas ball ornaments <---You're here!
__________
If you liked this post, you may also like these:


Beautiful! And a great last-minute gift!
ReplyDeleteThose are great!
ReplyDeleteThese are all so cute, I really like the 3-D tissue paper but using fabric instead. Can't wait to see the rest of them. Thank you for sharing these.
ReplyDelete