This ornament is another quick and easy one - and it's super clever in how it's made!
Every day for the 12 days leading up to Christmas, I'm sharing a tutorial for how to make a fabric ornament!
This post contains affiliate links. If you make a purchase after clicking the links, I may receive a small commission at no extra cost to you. As an Amazon Associate I earn from qualifying purchases.
If you're new here, hello! I'm Laura! I design quilt patterns , and I'm a self-proclaimed deal hunter! Be sure to join the popular Quilting & Sewing Deals Facebook group where I post sales, deals, and coupon codes from all around the web!
For this ornament, you'll need an 8" square of fabric and a 6" or so piece of ribbon or twine.
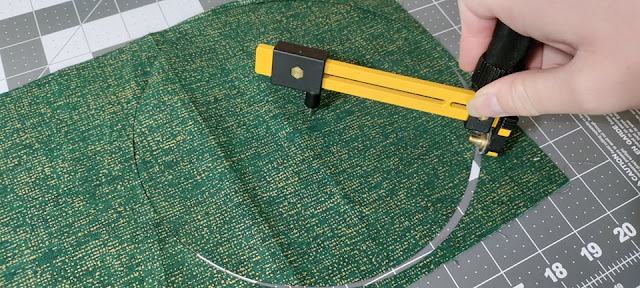
First, cut an 8" circle from the fabric. I'm using my Olfa Circle Rotary Cutter , but you could use a salad plate or similar sized circle object.
I use my circle all the time! It's such a great tool to keep on hand!
Each ornament takes just one circle. I'm making two, so I cut two circles.
Next, fold the circle in half, right sides together.
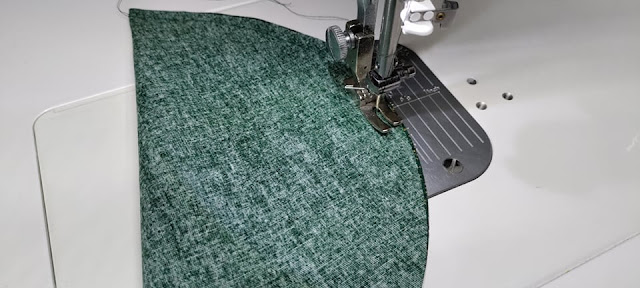
Then sew using a quarter inch seam from corner and around the arc.
Stop about 1" or 1 1/2" from the other corner.
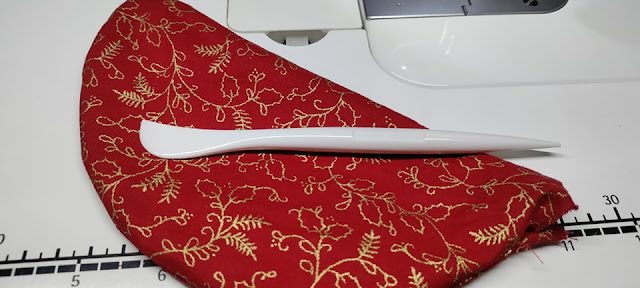
Then turn it right sides out through the opening.
I use my Hera marker to help poke out the corners.
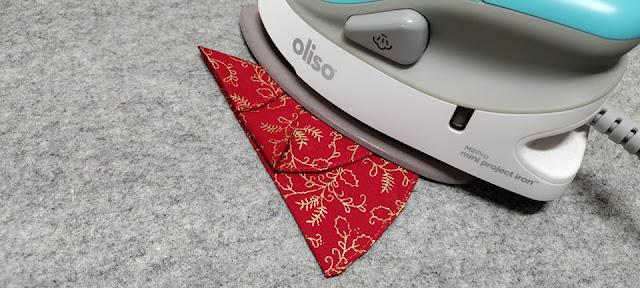
Turn in the raw edges of the opening, then give it a good press. (I'm using my turquoise Oliso mini iron and wool pressing mat .)
Use matching thread to stitch just about 1/8" from the edge all the way around, stitching the opening closed. I'm using Aurifil 50wt thread .
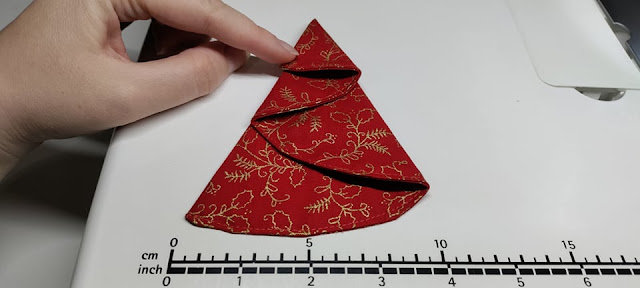
Now for the magic! Lay the piece as shown with the straight edge along the left side so that it is angled like the left side of a Christmas tree. There's no exactness needed here.
Then fold the right side of the piece over so that the folded edge creates the right side of the Christmas tree. The fold should be about 3" or 4" from the bottom left corner.
See the "extra" that is hanging over the left side of the Christmas tree? Fold that back to the right, making the fold match the straight line from the bottom layer.
There should now be a small bit left hanging over the right edge of the Christmas tree. Fold that over so the fold is matched up with the right side of the tree. All the folds and layers on both the left and right sides should line up.
This actually took me a few tries to get it folded so that it ended with just the right amount at the top. If it doesn't quite work out the first time, just adjust where the folds are and try again.
Once you're happy with it, press it very well. You can steam it, starch it, or use a clapper . Press from the front, then turn it over and press from the back. Don't scorch the fabric by pressing too long, but you can press it multiple times if needed. You want the layers to really stay in place.
The only thing left is to add a hanger!
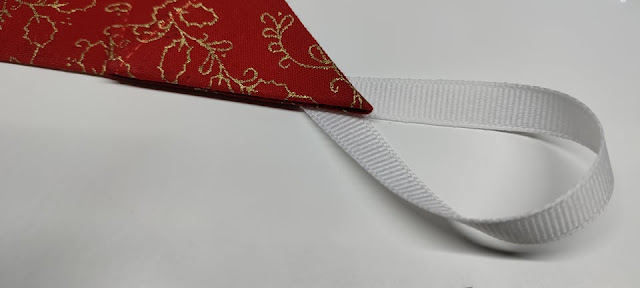
I made a loop with some 1/4" grosgrain ribbon and placed it under the top of the tree.
Then I took it to the sewing machine and lifted up the layers so I was only going to sew on the bottom-most layer.
I sewed and backstitched just a few stitches to secure the ribbon in place.
And that's it!
A cute little fabric tree ornament from just one circle of fabric!
You could tack down the layers with a few stitches, but it's not necessary if you pressed well. You could even add little buttons if you wanted!
These would make great gift toppers too! Each one only took me about 10 minutes! They'd be even faster if you made several at once!
Check out all of the 12 Days of Ornaments tutorials here!
Day 6 - Folded fabric tree ornaments <---You're here!
__________
If you liked this post, you may also like these:











Loving your ornaments!
ReplyDeleteI love your ornament tutorials. Simple and quick for almost anyone
ReplyDeleteWhat a charming ornament! I have an ornament "fail" that I could use and re purpose the fabric...
ReplyDeleteThank you l made napkins just like this and I was looking for something quick and simple that I could make the people get for Christmas. I wouldn’t take much time a class much money. This is perfect. Thank you.
ReplyDeleteI have made these and glad to have the pattern again. I have grands and great grand now and want to make for them. Thank you. Merry Christmas
ReplyDelete