Every day for the 12 days leading up to Christmas, I'm sharing a tutorial for how to make a fabric ornament!
This post contains affiliate links. If you make a purchase after clicking the links, I may receive a small commission at no extra cost to you. As an Amazon Associate I earn from qualifying purchases.
If you're new here, hello! I'm Laura! I design quilt patterns , and I'm a self-proclaimed deal hunter! Be sure to join the popular Quilting & Sewing Deals Facebook group where I post sales, deals, and coupon codes from all around the web!
This is a great ornament to make with leftover batting after quilting a quilt. In fact, you can use your practice sandwiches that you've already quilted! Just skip to the tracing step!
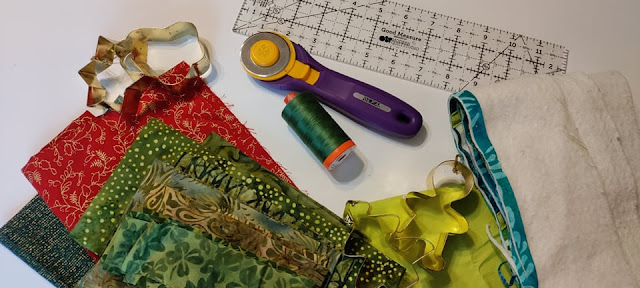
To make one ornament, you'll need fabric and batting scraps and a short piece of ribbon or twine for a hanger. I like to use pinking shears for this one. You can definitely use regular scissors too, but I like the look of the pinked edge.
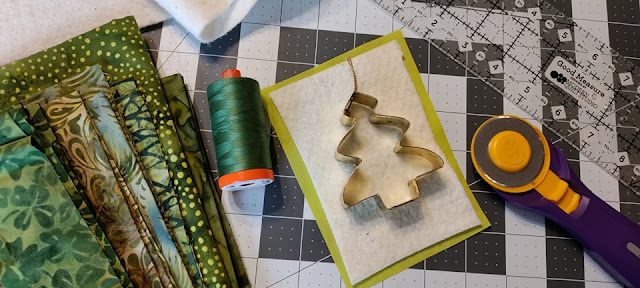
I'm using some Christmas cookie cutters (that are actually ornaments from our tree!) for a template for the shapes too. You could just freehand your own shapes or print out clipart from the internet.
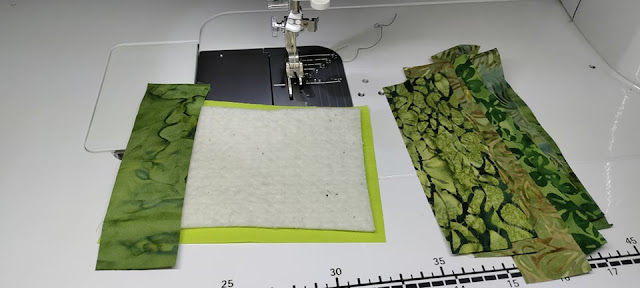
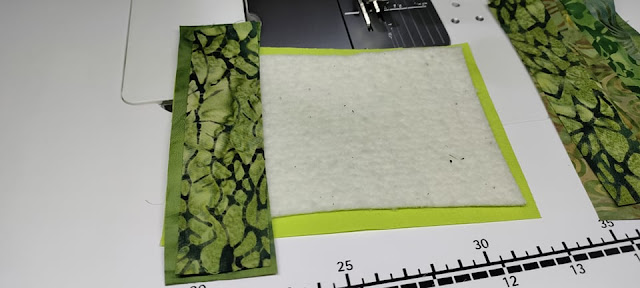
The first step is to cut a batting and fabric scrap a bit larger than your cookie cutter or template. Then cut some 1" strips of fabric for the top.
Place one strip right side up on the end of the batting.
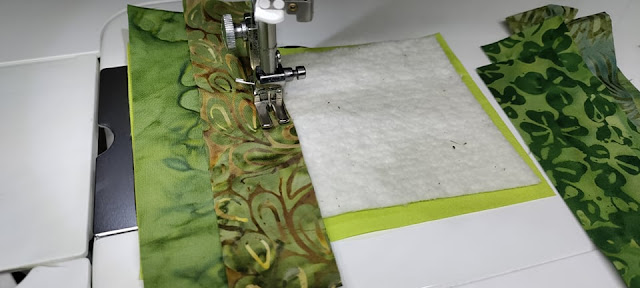
Then place a second strip right side down on top of the first strip, lining up the raw edge.
Stitch with a 1/4" seam. I just used my regular 1/4" foot, but a walking foot would be great for this!
Once sewn...
...finger press the fabrics.
Then lay a third strip on top, aligning the raw edge with the previous strip and sew it down.
Continue adding strips until the piece is large enough for your template to fit on top.
Then trace or draw your shape onto the mini quilt. I used my air erasable pen to trace mine on the back so it was easier for me to see.
Here's where the pinking shears come in!
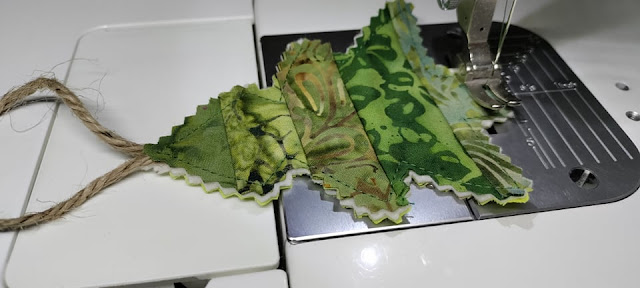
Once cut out, take a 5" or so piece of ribbon or twine, fold it in half, and tuck the ends in-between the top and batting at the top. Use a sewing clip to hold it in place.
Take it back to the sewing machine and stitch all the way around, about 1/4" from the edge. This will hold the hanger in place too.
That's it!
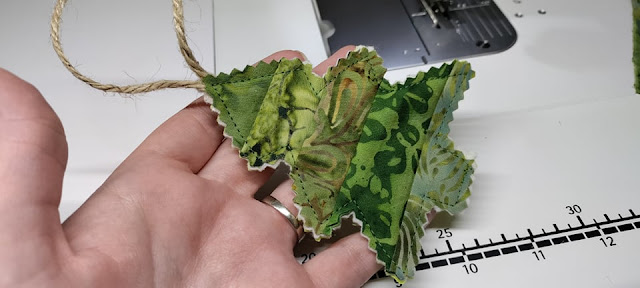
Here's a peek at the back.
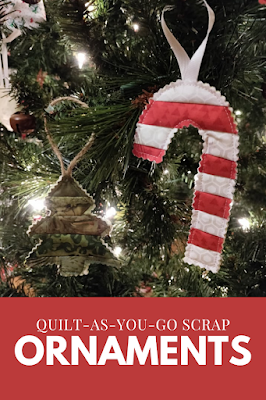
Now repeat with more scraps to make more ornaments! I love the candy cane one!
I've made these a few times and have used them on top of gifts. It's a small way to add a little touch of handmade even if the gift is not!
Check out all of the 12 Days of Ornaments tutorials here!
Day 4 - Quilt-as-you-go quilted ornaments <---You're here!
__________
If you liked this post, you may also like these:










Love these, something the grand kids could do.
ReplyDeleteMy grands too will enjoy this - they also love using the decorative stitches so they can "trim" the tree. Thanks
ReplyDelete