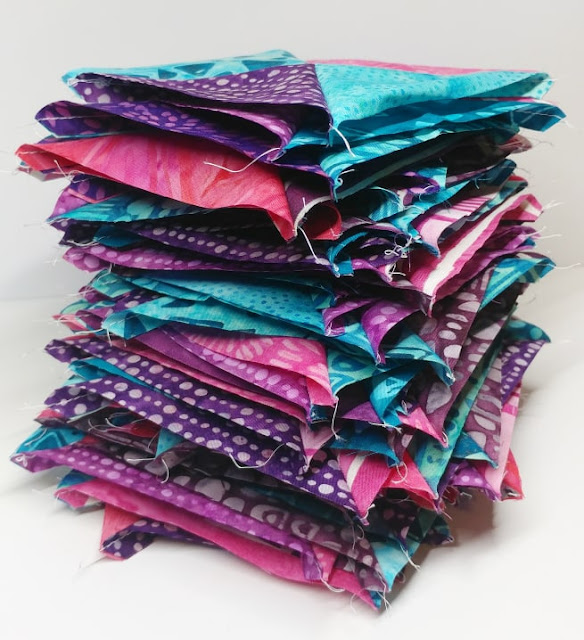
It's week 3 of the Exploding Heart quilt along! Last week we started sewing the blocks, and this week we'll finish sewing them and trim them to size. Don't miss this week's video at the end of the post!
If you're just joining in, be sure to check out all of the quilt along blog posts:
This post contains affiliate links. If you make a purchase after clicking the links, I may receive a small commission at no extra cost to you. As an Amazon Associate I earn from qualifying purchases.
If you're new here, hello! I'm Laura! I design quilt patterns , and I'm a self-proclaimed deal hunter! Be sure to join the popular Quilting & Sewing Deals Facebook group where I post sales, deals, and coupon codes from all around the web!
Week 3 / 6
This week we will trim the blocks. (If you used an AccuQuilt to cut the pieces, you don't have to trim your blocks!) Block directions are on pages 3 - 7 of the pattern.
If you don't yet have the pattern, you can get it here.
Be sure to scroll down past the tips to watch this week's video!
If you used an AccuQuilt to cut the pieces...
...then you don't have to trim your blocks at all! Take the week off! Do a happy dance! Finish sewing your blocks if you haven't done so already.
(If not trimming at all sounds lovely to those of you that have to trim, be sure to join the Quilting & Sewing Deals group ! I watch for sales on the AccuQuilt cutters and post them there!)
If you are not using an AccuQuilt...
...then you can choose from several tools that can help you trim your blocks! I'll show you a few different ways so you can choose what method you like the best!
For all the ways shown here, I'm using an Olfa rotary cutter and Olfa rotating cutting mat .
One popular method for trimming half-square and quarter square triangles is using the Clearly Perfect Slotted Trimmers . This ruler has you trim the block BEFORE pressing the final seam open. This allows you to only make two cuts to trim all four sides, and you can trim the dog ears off using the slots on the ruler too! This saves a lot of time! My personal reason for not loving this ruler is that I find that my blocks turn out a bit wonky after pressing, so the final blocks isn't exactly square. I've heard from many others that love this ruler, so it's definitely worth trying!
If I'm not using my AccuQuilt for half-square or quarter-square triangles, then I am definitely using a Bloc Loc ruler to trim the blocks! The HST rulers have a groove along the diagonal on the back of the ruler that perfectly lines itself up with the diagonal seam of the block. This means it doesn't shift when cutting and is much easier to line up! These rulers are also made for flying geese and a few other blocks. You can use sizes larger than you need, but I find that I use the 2 1/2", 4 1/2", and 6 1/2" sizes the most!)
If you don't have a Bloc Loc ruler, you can try making your own using a square ruler that you do have! I used drywall joint tape , but medical tape or a few layers of painter's tape work too. Just place the edge of the tape along the diagonal of the ruler. Cut the extra off the sides using a rotary cutter. I like to mark the point that would be the center of the block (if you're following the pattern, this would be 2 1/4") with a dry erase marker. Then I line up that dot with the center of the block , and the diagonal line with the diagonal seam.
You can also use your regular rectangular acrylic ruler too - as long as it is as wide or wider as your blocks. I still mark the point that would be the center of the block (2 1/4" for these), then line up one corner of the ruler with the diagonal seam. Once both the center point and ruler corner are lined up, then you can trim two of the sides. Rotate the cutting mat or block, line the ruler up again, and trim the other two sides.
Video
Want to see these tools in action? Check out this week's video!
**If the video doesn't load, you can watch it here: https://youtu.be/FRr-hXdr4vo .
Homework
- Finish sewing and trimming all of the blocks. Refer to pages 3-7 of the pattern.
- If you want, share a photo of your blocks on social media so we can encourage you! Use #explodingheartquilt or #explodingheartQAL in the caption of your photo on Facebook or Instagram. On Facebook, you can share on your personal timeline, or you can share in a quilting group you're in! If the post is "public," then others sewing along will be able to find it and encourage you!
- Search for #explodingheartquilt or #explodingheartQAL on Facebook or Instagram, and like and comment on other posts to encourage others that are sewing along!
QAL Schedule
Week 4 - January 27th - Sewing the rows
Week 5 - February 3rd - Sewing the top
Week 6 - February 10th - Quilting and finishing
Next week, we'll sew the blocks into rows!
Let's all quilt along!
__________
If you liked this post, you may also like these:


Thank you for this quilt along I’m learning a lot!!
ReplyDeleteTop is done. Sending out to be quilted and binding. Love it!
ReplyDelete