Welcome to my stop on the Woodcut Blossoms blog hop! This blog hop and quilty project have been in the making for SO long! Since November of last year actually! I'm thrilled to finally be able to share it with you!
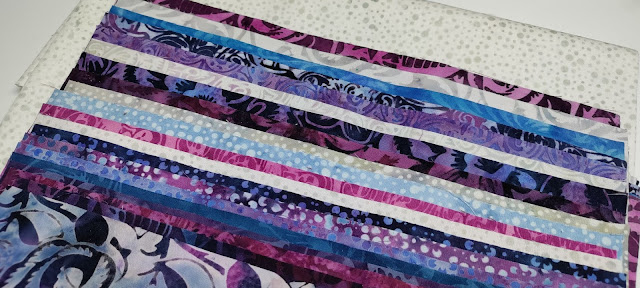
The Woodcut Blossoms fabrics are a new collection from Heidi Pridemore of The Whimsical Workshop. The fabrics are all by Island Batik. It's a mix of mostly purple batiks, which are always high on my love list!
This post contains affiliate links. If you make a purchase after clicking the links, I may receive a small commission at no extra cost to you. As an Amazon Associate I earn from qualifying purchases.
If you're new here, hello! I'm Laura! I design quilt patterns, and I'm a self-proclaimed deal hunter! Be sure to join the popular Quilting & Sewing Deals Facebook group where I post sales, deals, and coupon codes from all around the web!
I was inspired by the collection's name and designs to create the Woodcut Roses quilt block pattern. And it's FREE!! Just enter your email into the box below, and you'll automatically get the pattern delivered to your inbox to save!
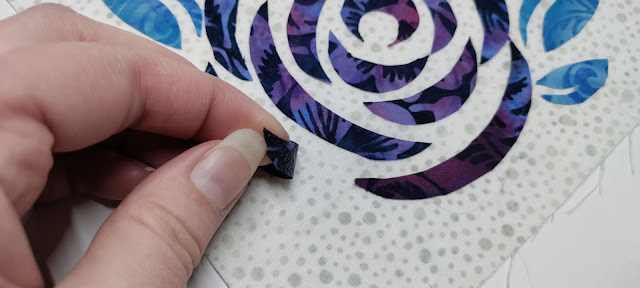
I tried something new with this applique pattern that I had never done before - I PRINTED the pieces right onto my fusible! (I used Lite Steam-A-Seam 2.) It felt genius, and I have no idea why I never thought of it before! Total game changer!
After cutting out the pieces, I used a light pad to shine through the design on the pattern and through the background fabric so that I could lay the pieces out exactly where they were supposed to be. Sometimes the right tools make all the difference!
Lite Steam-A-Seam 2 is different from other fusibles. When you peel the paper off, the back of the pieces are tacky. This makes them stick to the background fabric! The pieces don't fall off when you move from the light pad to the ironing station! (I have a wool pressing mat and Oliso iron.)
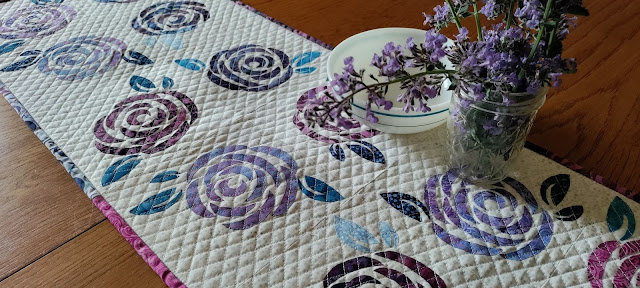
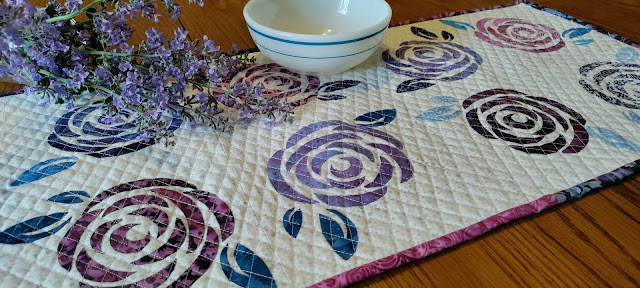
I chose different purples from the Woodcut Blossoms collection for the flowers, and the blue fabrics for the leaves.
I can picture the block in some soft pinks too!
I couldn't stop with just one block though, so I made three!
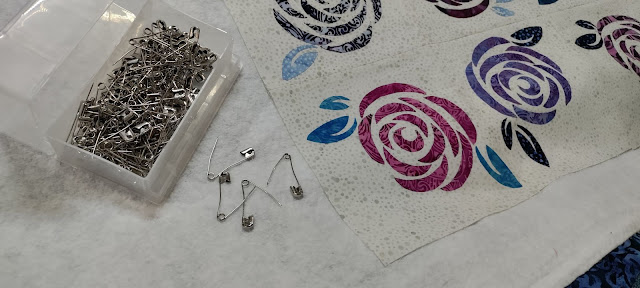
I pin basted the top with some Warm & White batting and a batik scrap from my stash for the back.
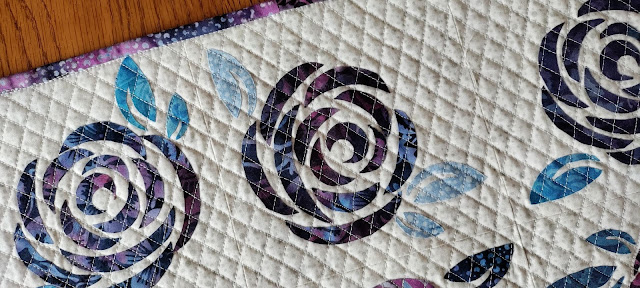
Then I used 50wt Aurifil #2600 Dove Grey and my walking foot to quilt a cross-hatch design. This time though, I didn't quite use 45 degree angles, so the result was more of a diamond design instead of squares!
A few of the leftover scraps worked great for the binding! (I sewed it on by machine - tutorial HERE - and sewed in a satin label at the same time!)
I just love that texture from the quilting!
Oh, and in case you were wondering, I did not sew each individual piece down like in traditional raw-edge applique. This time, I just used the quilting to hold the pieces on. The pieces won't fall off when it's washed (because there is quilting on top of every piece), and they might fray a little (though not much, because batiks don't fray like traditional cotton fabrics), but this is a much faster technique than sewing around each individual piece.
The pattern does say to sew around the pieces, but you can choose which way you prefer! There are no quilt police!
I love how it looks with some of the flowers from our backyard!
And a peek at the label and backing, because I know you like peeking behind the seams as much as I do!
I'm just one of more than a dozen bloggers on the hop, so be sure to stop by their blogs to see what they created! They each have a free quilt block for you too!
Laura at Slice of Pi Quilts <--- That's me!
__________
If you liked this post, you may also like these:










Hey there! Could this be scanned with my Brother scan n cut ?
ReplyDeleteCertainly. You can scan anything on it.
DeleteAmazing and beautiful! -dezertsuz
ReplyDeleteDo you think it would work with a laser printer?
ReplyDeleteLove the design, so beautiful.
ReplyDelete