I wanted to share a photo tutorial with you to show how I'm making mine so you can make masks too!
This post contains affiliate links. As an Amazon Associate I earn from qualifying purchases.
If you're new here, hello! I'm Laura! I design quilt patterns, and I'm a self-proclaimed deal hunter! Be sure to join the popular Quilting & Sewing Deals Facebook group where I post sales, deals, and coupon codes from all around the web!
First things first.
THIS IS THE MOST IMPORTANT STEP!!
If you would like to make face masks to give to your local essential personnel, you MUST contact them FIRST to ask if they will use them. Be sure to speak to a specific person that you can contact again and deliver the masks to when you are finished. Consider calling your local nursing homes, doctor's offices, hospital, quick care clinics, ambulance services, fire station, police station, etc. Also note that some areas of the US are not currently experiencing a shortage of medical masks, so they have no need for homemade masks. This may change quickly as the masks are used, so you could check back with them again. Also, some locations are requesting very specific masks. Please make sure to ask if they have a certain type they prefer before following this tutorial.
Many essential personnel do not have an adequate supply of approved facemasks or PPE during the pandemic, and are using fabric masks over the top of an approved mask to extend the life of it, and others are wearing them when no medical masks are available.
Also note, these masks are not a guarantee to protect you from anything. A face mask CAN reduce the spread of germs, and acts as an added layer of protection. The CDC recommends essential personnel use them as a last resort when no approved masks are available. (Read about that here.) Any individual can wear a face mask to reduce the spread of germs.
So now that you have someone who needs a mask and is going to use it, let's make one! (Or 72!)
This tutorial is for one adult sized face mask with fabric straps instead of elastic.
Many retailers (online and brick & mortar) are out of many of the supplies. Use what you have! I will include suggestions for alternative supplies throughout the tutorial if you do not have what is listed.
What you need:
Pre-washed fabric (I used Island Batik fabric)
Thread (I used Aurifil 50wt)
Optional: Lightweight fusible interfacing (I used Pellon 911FF)
Pipe cleaners or chenille stems (like these)
Very helpful things to have:
1" bias tape maker
Quilt clips
And of course a sewing machine, rotary cutter, mat, acrylic ruler, iron, etc.
Let's get started!
1. Cut the fabric and interfacing as listed below:
Cut (1) 8" x 14" rectangle from 100% cotton fabric.
I used Island Batik fabric because it has a high thread count. The CDC says high quality quilter's cotton and batik fabrics are best.
**If making a mask for a child aged 2-8, cut the rectangle 7" x 13". All other directions are the same. Do not place a mask on a child under the age of 2. Older children should wear the adult sized mask.
Optional: Cut (1) 8" x 14" rectangle from lightweight fusible interfacing.
I used Pellon 911FF for many masks, then ran out. If you do not have this, you can just use the one piece of fabric, or a double layer of the fabric! Do not use interfacing for a child's mask.
Cut (2) 2" x WOF (width of fabric) strips from 100% cotton fabric.
Ribbon, twill tape, strips of t-shirt fabric, etc. can work if needed too. Strips should be 34" - 40" in length.
2. Press the fabric rectangle onto the interfacing rectangle following the manufacturer's directions.
I decided to not follow the manufacturer's directions and used the washing machine to dampen my fabric (rinse and spin cycle). Then I laid the damp fabric on top of the interfacing and pressed it on. It worked for me!
It's okay to trim the rectangle after pressing if needed. You can trim up to a 1/4" off each side and it will still work great!
3. Fold the fabric rectangle in half, right sides together.
4. Use a 1/4" seam and stitch along the edge opposite the fold.
5. Turn the tube right side out.
6. With the seam along the bottom edge, press flat.
7. Stitch along the folded edge, 1/2" away from the fold.
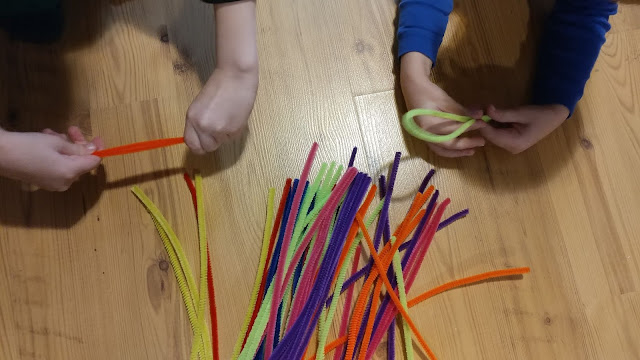
8. Fold one pipe cleaner in half, then insert it into the tiny sleeve just created. Put the folded end in first and use your seam ripper or stiletto to push it in farther so that it is centered in the sleeve.
Enlist the help of little people for this step if you have them!
Now it's time to make the pleats! Pleats are like making accordion folds!
9. Lay the rectangle on your cutting mat, aligning the top edge with a horizontal inch line.
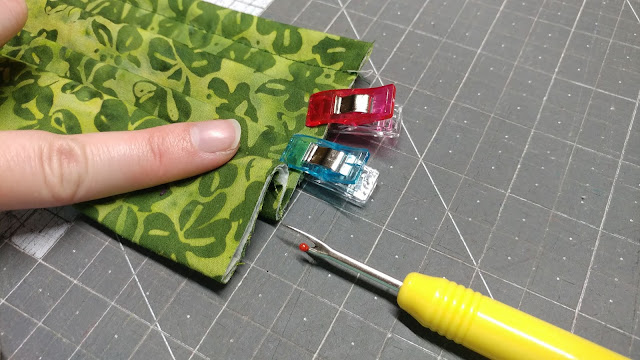
10. Find the horizontal line that is 1 1/2" down from the top edge. Fold the rectangle up along that line. Finger press. (The seam ripper is pointing at the fold line in each photo.)
11. Fold the rectangle back down along the line that is 1" from the top. This will create a 1/2" pleat. Finger press. Use quilt clips on both ends to hold the pleat in place.
12. Find the horizontal line that is 2" down from the top edge of the rectangle. Fold the bottom of the rectangle up along that line. Finger press.
13. Fold the rectangle back down along the line that is 1 1/2" down from the top edge. This creates a second 1/2" pleat. Finger press. Hold with quilt clips.
14. Find the horizontal line that is 2 1/2" down from the top edge. Fold the bottom of the rectangle up along that line. Finger press.
15. Fold the rectangle back down along the line that is 2" down from the top edge. This creates the third and final 1/2" pleat. Finger press. Use quilt clips on both ends.
16. Using 1/8" seam allowance, stitch along the right side of the mask to secure the pleats. Use a stiletto if needed to keep the pleats down as they go under the presser foot.
17. Repeat for the other side.
Now to add straps!
18. Use a 1" bias tape maker to press the long fabric strips.
If you do not have a 1" bias tape maker, just press each edge of the strip to the middle. It does not have to be perfect!
19. Fold one strip in half to find the center.
20. Place the strip vertically (wrong side up!) along the right side of the mask (pipe cleaner should be at the top). Center the mask with the center fold of the strip.
21. Place the mask on top of the strip so that the right mask edge is almost to the center of the strip.
22. Fold the right edge over the top of the mask. Clip in place.
23. Repeat for the other side. Fold strip in half to find center; center along left edge of mask. Lay mask on top of the strip, almost to the center. Fold over the other edge of the strip. Clip in place.
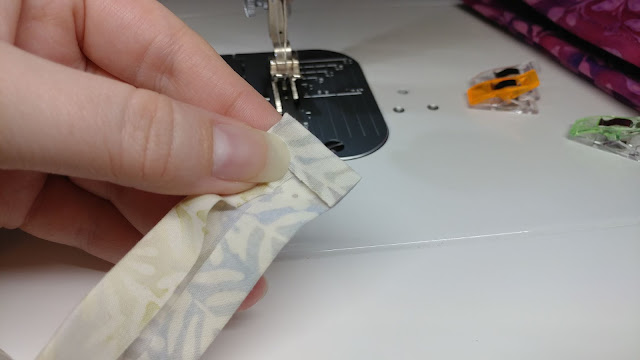
24. Fold over the end of a strip about 1/2" toward the wrong side.
25. Fold the strip in half.
26. Stitch across the end of the strip.
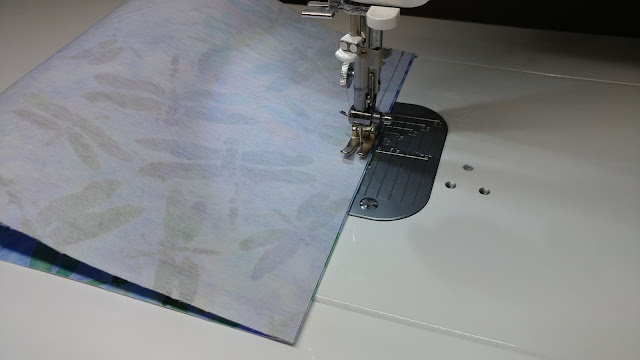
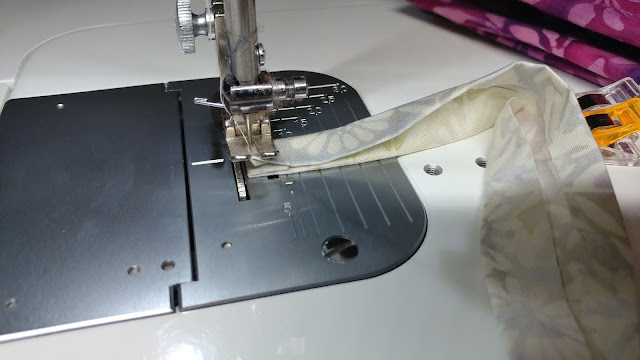
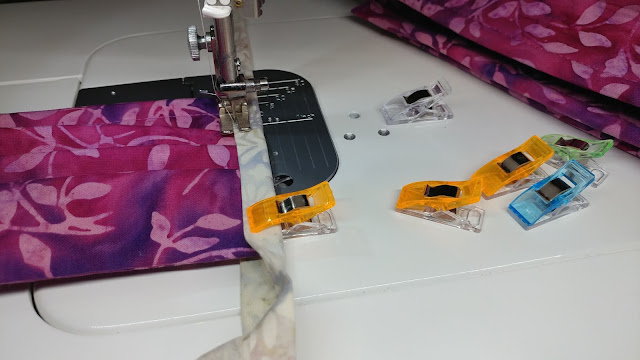
27. Pivot the strip and speed sew along the edge of the strip.
28. Remove the clips as you get to them and continue to sew all the way to the other end of the strip.
29. When about 4" from the end, fold over the end just like at the beginning. Continue sewing to the end, then pivot the strip and sew across the end.
30. Repeat for the second strip.
31. Voila!
32. Repeat!
To wear the mask, fan out the center of the mask. Tie the straps behind your head. Pinch the metal above the bridge of your nose to help hold the mask in place.
Wear the mask for no more than four hours. Wash in hot water before wearing again. (I recommend tying all four straps together in a loose knot so the masks get less tangled during washing.)
Make multiple masks if needed so you have enough to change them often and wash them in-between uses. Be sure to wash your hands after removing the mask and before touching your face. And wash your hands after putting them in the washing machine too!
Here are a couple other tutorials that you might like too!
Video tutorial: Mask with elastic and interfacing
Video tutorial: Mask with straps, but no interfacing
Blog tutorial with several alternatives for straps and pipe cleaners
Be sure to pin the tutorial on Pinterest!
__________
If you liked this post, you may also like these:












Awesome!!! The nurse I talked to asked that the masks have a solid on one side and a print on the other...I guess they were leaving the masks in the patient's room and reusing them. They needed to be able to tell which side was on the outside easily when they came back in the room. I love seeing all the masks that everyone is making!
ReplyDeleteI have heard some saying the same. This design is intended to wear once and then wash. Re-using the same mask without washing in-between really increases the chances of spreading germs from touching the mask and putting it back on your face. There are lots of different patterns and tutorials on the web so everyone can find the kind that works for their needs!
DeleteBeautiful! Thank you, Laura, for making these for so many people. I like the way these are made, but I am confused about the pipe cleaner. Why are they used inside the mask? And how exactly are they placed in the mask? Just wondering.
ReplyDeleteYou bend it against the bridge ov your nose so that the mask seals across the face.
DeleteThe pipe cleaner is inserted inside along the top edge of the mask so the wearer can pinch the mask over their nose for a more snug fit. Without this, the masks often fall down or are difficult to wear with glasses. It's an added feature for comfort that makes this mask design a bit of an "upgrade" from the ones with just fabric and elastic only.
DeleteThanks for posting this one, too, on #TTot22! You are amazing when you get in your production mode. I made about 10 and had to fix my machine. About to make some more...
ReplyDeleteLooking for what sizes to use for children. If anybody has that info, I would appreciate.
ReplyDeleteHi, Robyn! I've made a few child-sized ones now too! I recommend cutting the fabric into a 7" x 13" rectangle and not using interfacing. This size works great for children aged 2-8. Children under 2 should not wear a mask, and children older than 8 should wear an adult sized one. I've updated the post with this info too! Thank you!
Delete