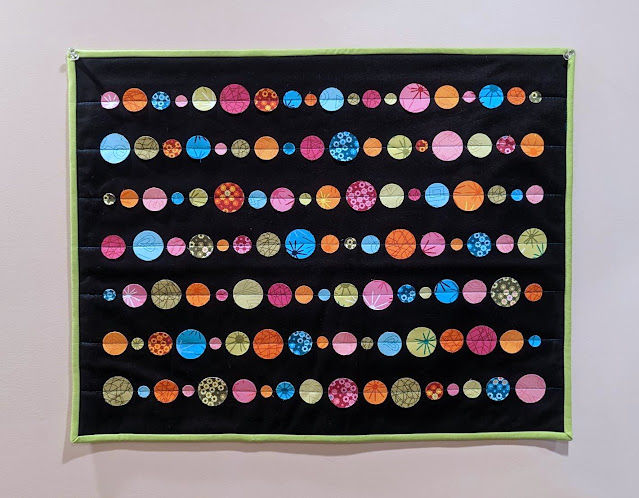
It's a tradition now! I make a circle quilt every year for Pi Day!
I've made a Pi Day quilt every year since 2017! YES! Do you want to see them all??
2021 - Mini circles (this one is the most similar to this year's!)
2022 - A modern bubbles quilt
This post contains affiliate links. If you make a purchase after clicking the links, I may receive a small commission at no extra cost to you. As an Amazon Associate I earn from qualifying purchases.
If you're new here, hello! I'm Laura! I design quilt patterns, and I'm a self-proclaimed deal hunter! Be sure to join the popular Quilting & Sewing Deals Facebook group where I post sales, deals, and coupon codes from all around the web!
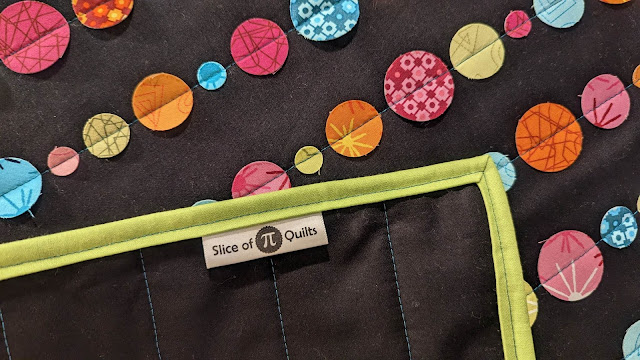
This year's quilt started with a sample pack of fabric I got from Quilt Market in the fall. It's a new collection called Stitchy by Christa Watson.
I grabbed my Pellon Decor-Bond and solid black fabric from my stash, and began to hatch a plan.
I first pressed the fabric to the Decor-Bond. This is a one-sided fusible, and it is pretty stiff. This would help the circles keep their shape even with minimal stitching.
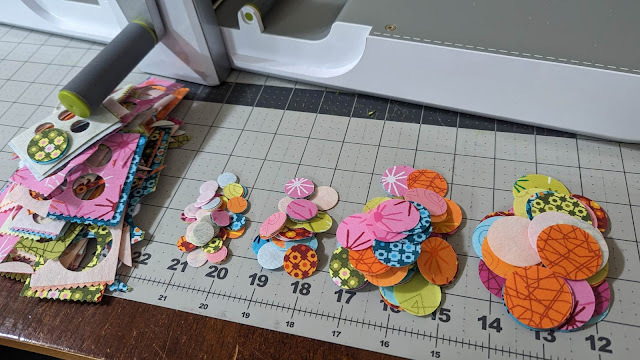
Next, I used my AccuQuilt cutter and circle die to cut four different sizes of circles from each fabric. I used fifteen different fabrics, and cut at least two circles of each size.
Now I was ready for the fun part! I made a quilt sandwich using the solid black fabric for both the top and the back, and I used a scrap of 80/20 batting inside. I used my hera marker to "draw" a line right down the center as a guide for laying out my first row of circles. (It really just makes a crease line in the fabric.)
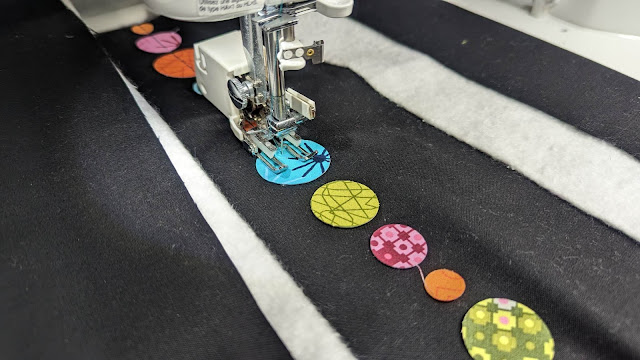
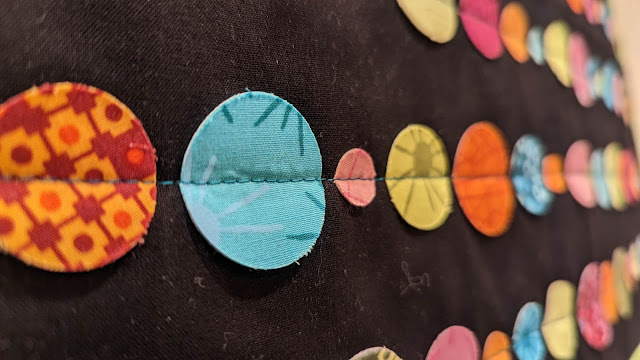
I alternated the colors and sizes of circles to make it look as random as possible, then used my walking foot to stitch right down the drawn line. I used Aurifil 50wt #4093. It's a fantastic dark turquoise - one of my favorites!
I did not pin or glue the circles down. I just carefully held the fabric up while quilting and adjusting the circles slightly as they neared the needed if needed. It worked, but a dab of glue from a glue stick probably would have made it better.
After that first row, I "drew" another line 2" away from the first, then laid out another row of circles. I kept repeating until I had seven rows - and was almost out of circles!
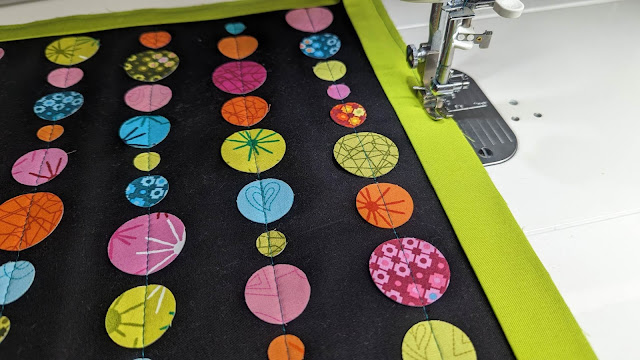
Some solid green fabric was the perfect way to bind the quilt. (Machine binding tutorial HERE.)
The quilt took only a couple hours to make, and was a wonderful creative outlet for me.
The close up photos really show the batting lint that I need to get off, but you really can't see it from just a few feet away! (Black batting would have been better here, but I didn't have a small scrap of it!)
Can you see how the circles are only stitched down the center? I love the little bit of 3-D texture!
This is my 7th year in a row making a Pi Day quilt, and I have every intention to continuing this tradition for many years to come!
Have you made a circle quilt? Do you celebrate Pi Day? I think I'll have some pie now that my quilt is done! ;)
__________
If you liked this post, you may also like these:
Happy Pi Day! 2022
Happy Pi Day! 2020
Happy Pi Day! 2018







This is so cute. I would love to try it! I made a lemon chess pie for today!
ReplyDeleteVery cool! I'll take key lime pie any day!
ReplyDeleteSuch a pretty quilt - I love circles.
ReplyDeleteVery cute!
ReplyDeleteVery interesting and eye catching. When you wash it will the circles become soft or frey at the edges?
ReplyDelete