A few months ago, a friend of mine visited a flea market and found an old Singer sewing machine. Knowing that I love vintage sewing machines, she bought it and gifted it to me. However, the machine had seen better days. It did not sew, and needed quite a bit of repair work to make it sew. The condition of the paint and logo were saying too. After weighing my options, I devised a plan to give the machine a whole new lease on life!
This post contains affiliate links. If you make a purchase after clicking the links, I may receive a small commission at no extra cost to you. As an Amazon Associate I earn from qualifying purchases.
If you're new here, hello! I'm Laura! I design quilt patterns , and I'm a self-proclaimed deal hunter! Be sure to join the popular Quilting & Sewing Deals Facebook group where I post sales, deals, and coupon codes from all around the web!
Our local hardware store had a fantastic Rust-Oleum spray paint in the color "Seaside." It looked like a beautiful turquoise color (my favorite!), and I couldn't wait to get started! (I paid no attention to the fact that it was crazy cold and snowing outside!) They only had the satin finish, so I also got a can of Rust-Oleum Crystal Clear Enamel .
The first step was to bring the machine inside to warm up!
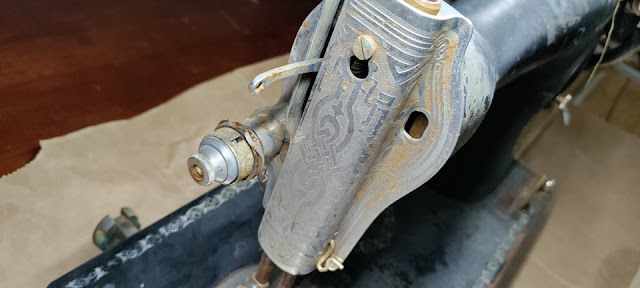
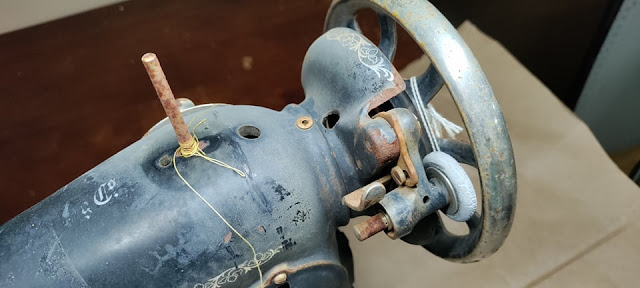
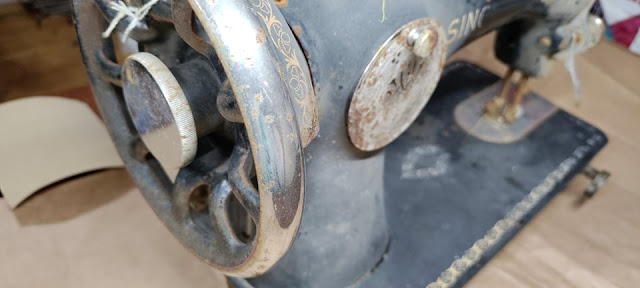
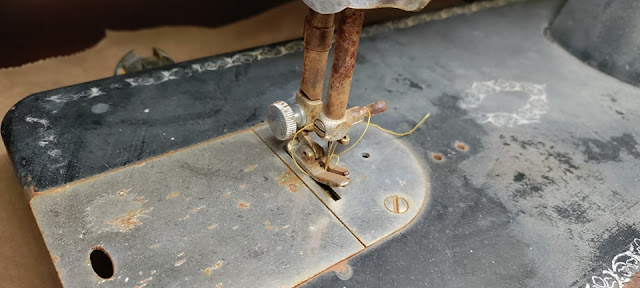
Generally, the machine didn't look in too bad of shape! The silver hardware pieces only had minor surface rust, and she wasn't missing any major pieces.
I had no sentimental value to the machine, and it really needed a lot of work to look new again. I moved forward with my plan.
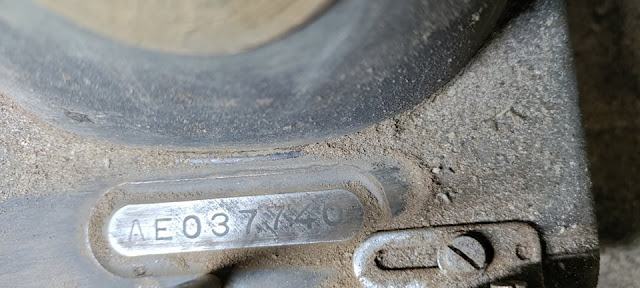
I used sand paper to knock off most of the rust including what was on the serial number, spool pins, and needle bar.
I looked up the serial number on this website to confirm that it was indeed a Singer 15 sewing machine made in 1935. Fun fact! My great grandfather was a Singer sewing machine repairman, and my grandmother was born in 1935!
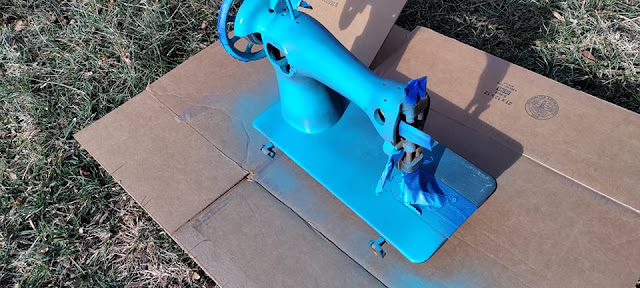
I used a Dremel to get into some of the hard to reach spots, and removed all of the silver pieces that I could. I took it outside and used an air compressor to blow all the dust off, then wiped it down with a wet cloth. Then I used painter's tape to tape over any of the remaining silver pieces that could not be removed.
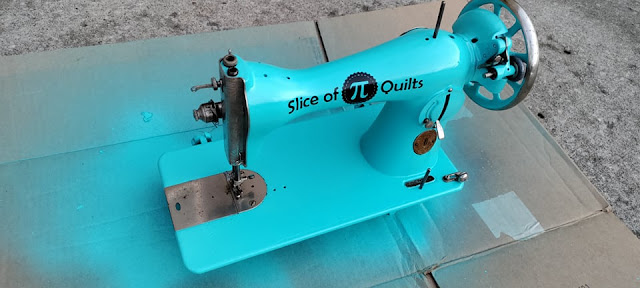
The spray paint said it needed to be over 50 degrees to use, and miraculously, the temperature rose enough in-between snow days for it to work!
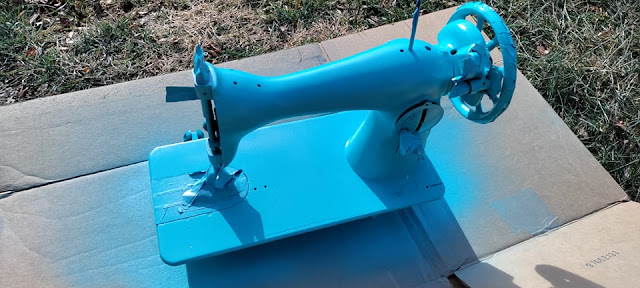
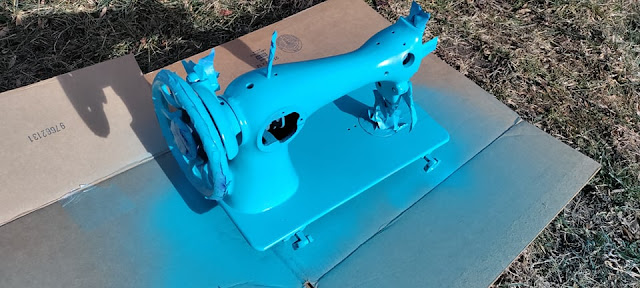
I did several light coats on the machine until it was completely covered.
I was getting excited now!!
I brought it inside to stay warm as it dried, and waited the suggested 48 hours for it to fully dry before removing the tape.
Next, I used my Cricut machine to cut my logo from black vinyl . I use Glad Press'n Seal wrap from the kitchen as my transfer tape!
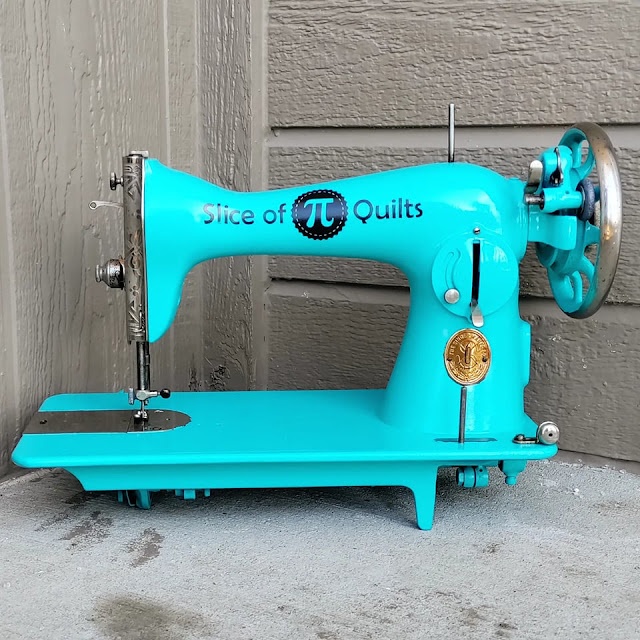
The last step was to add the clear coat! I waited for a day that was *almost* 50 degrees, and went for it! I added quite a few layers of the clear coat over the whole thing. After all the work, I didn't want the logo to come off or for it to rust again! Remember, the machine does not sew, so I was not hesitant to spray the clear coat over all the silver pieces. Also, I'm not sure if you can tell in the photos, but the spots that had bad rust spots still have little divots in the paint. This was not intended to be a restoration project nor a project for perfection.
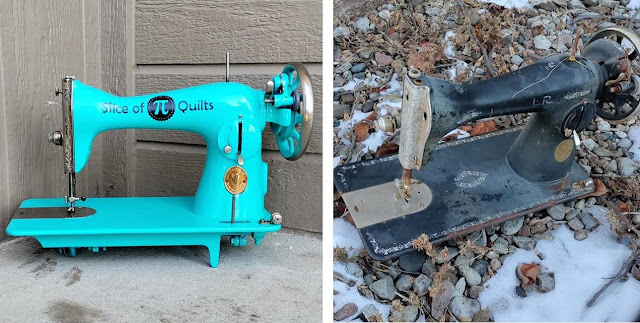
The clear coat was just what it needed! The shine! The color! I can't get the smile off my face! I absolutely LOVE it!!
The whole project took about a week, and I worked on it about 30 minutes a day.
Here's a little memory of how it started out! What a transformation!
Want to see the transformation in video form? I made a TikTok video of it! Watch it HERE !
I'm just so giddy about it! I love, love, LOVE it!!
And now she lives on my porch to greet anyone who comes over to visit!
The next time you spot a vintage machine that looks too far gone to be loved, try picturing it after a can of spray paint! It might just change your mind!
__________
If you liked this post, you may also like these:










That is one awesome refurbishment! It is fun to repurpose something that is pretty far gone into something, new shiny and oh so pretty.
ReplyDeleteIt looks like somebody loved it and that is what matters. You did a great renovation and she is a happy camper.
ReplyDeleteI'm impressed. Looks really good! Shame it no longer works.
ReplyDeleteYou did a great job!
ReplyDeleteThank you for sharing your process in giving this old sewing machine a beautiful repurposed life. Beautiful. And your post reflects your excitement and joy.
ReplyDeleteThis is just so fun! What a great statement piece for your doorstep! Love it!
ReplyDeleteI think it could be more general if you get a football sports activity Goldshell KD6
ReplyDeleteI wrote about a similar issue, I give you the link to my site. Heating oven
ReplyDelete