The second Project Quilting challenge of the year was PINK! Since I used all pink for the first challenge (see that one HERE), I was feeling a bit uninspired to use the color again. But in the spirit of the challenge, I really wanted to make something, so here it is!
This post contains affiliate links. If you make a purchase after clicking the links, I may receive a small commission at no extra cost to you. As an Amazon Associate I earn from qualifying purchases.
If you're new here, hello! I'm Laura! I design quilt patterns, and I'm a self-proclaimed deal hunter! Be sure to join the popular Quilting & Sewing Deals Facebook group where I post sales, deals, and coupon codes from all around the web!
I hemmed and hawed all week about what to make. Nothing was clicking, so on the last day of the challenge, I woke up determined. I grabbed a mix of pink scraps (leftover from this quilt), and got started.
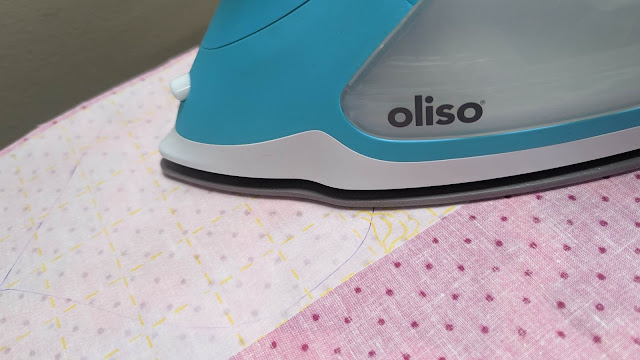
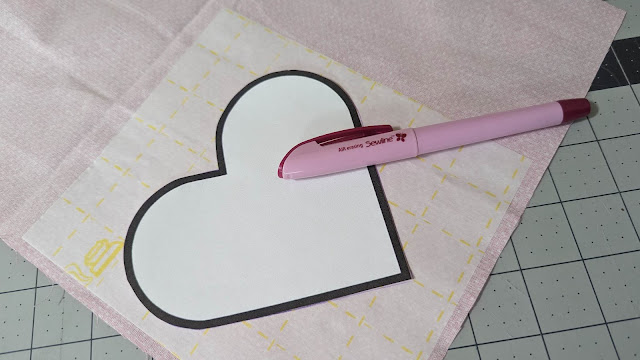
I started by pressing a 6" x 6" square of Lite Steam-A-Seam 2 to the wrong size of four pink fabrics. (I tried free handing a heart, but decided that wasn't a great idea. Ha!)
After printing a much better clipart heart than I could draw, I traced it onto the fusible with an air erasable pen. This wasn't necessary to use for this purpose, but it's my favorite pen in my sewing room, so I used it!
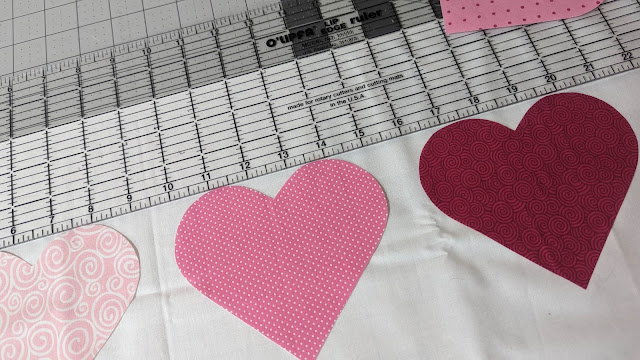
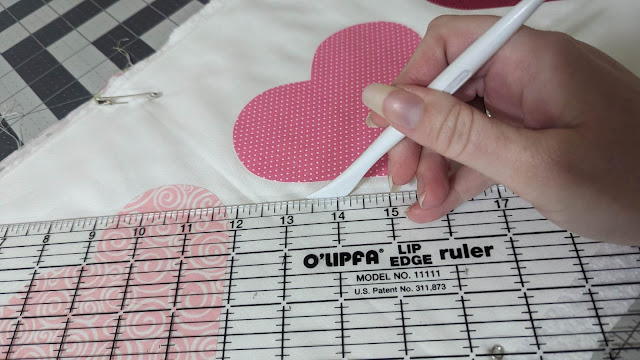
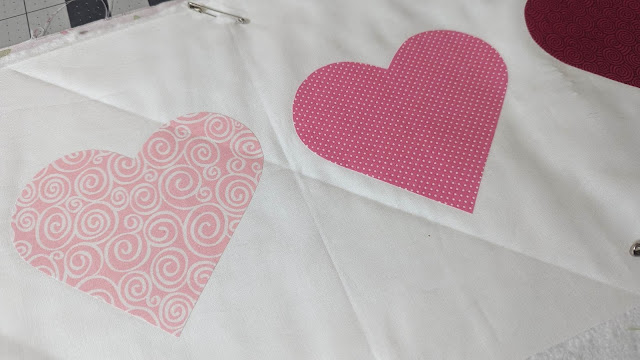
After cutting out the hearts, I peeled the paper off the back and lined them up on a scrap of solid white fabric. I used the ruler to keep them aligned.
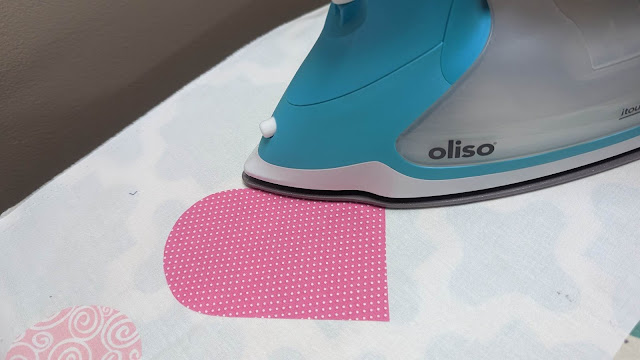
A quick press secured them to the fabric! (I used my Oliso iron.)
After making the quilt sandwich and pin basting, I used a hera maker to draw a starting line for quilting. I just drew one and used it as a guide for the first few lines, then used each new stitched line as a guide for the next line.
The hera marker doesn't actually draw a line. It just leaves a crease in the fabric.
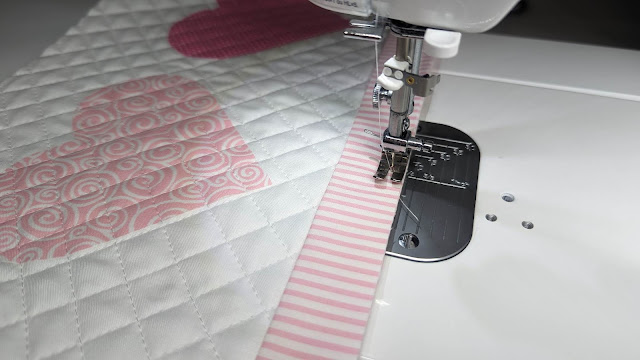
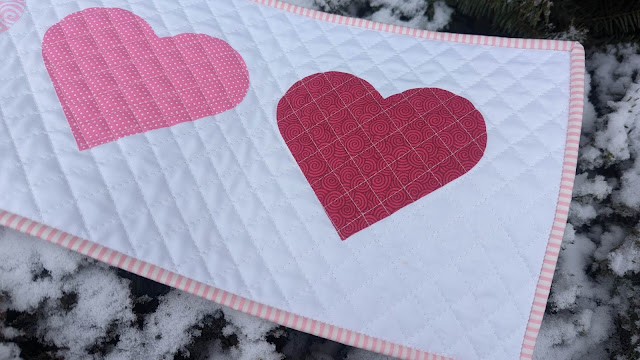
I used my walking foot to quilt straight lines right over the top of the hearts in both directions. They're a tad bit wider than the edge of my walking foot. I just eyeballed the distance, so the lines are not perfect. I did not stitch around the edges of the hearts. The quilting is what will hold them on.
Then I used the striped fabric for a cute binding! (Tutorial for machine binding HERE.)
I was playing bobbin chicken with this one! I actually ran out while sewing the binding on and switched from white to a super light pink. Both were 50wt Aurifil threads.
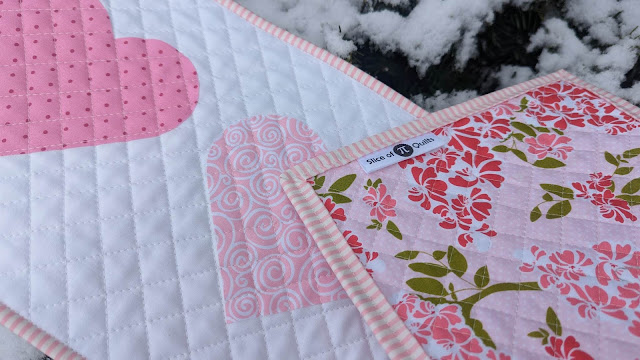
In just one hour and 15 minutes, I finished the whole mini quilt! It measures about 8" x 27".
In this photo, you can see a peek of the backing fabric and the quilt label. And the snow we got the morning that I was sewing!
I really love the look and texture of cross-hatch quilting, and I love that it also sewed the hearts down at the same time. That made it a bit like quilt-as-you-go!
It's not too late to whip up your own Valentine day mini quilt or table runner! Or even Valentine hearts to mail to your quilty friends!
I actually think it took longer to write this blog post than it did to make the quilt!
__________
If you liked this post, you may also like these:






So cute. Sorry you didn't win bobbin chicken. ☺
ReplyDeleteThat is really pretty! I thought about doing a Valentine's theme for pink too, but went a different direction.
ReplyDeleteSuch a quick cute table runner.
ReplyDeleteCute!!
ReplyDeleteI have a question concerning the “exploding Heart quilt. I purchased pattern this wonderful from you because I understood a how to video was available. Where might I find that video? Thank you for your time.
ReplyDeleteThe quilt is very cute and I love the backing fabric! Ideas for quick projects are always appreciated!
ReplyDelete